はじめに
この記事は、Flutter #2 Advent Calendar 2019の7日目、Firebase #2 Advent Calendar 2019の7日目の記事です。
※Qiitaの仕様で同一記事を複数のAdvent Calendarに紐付けできないことが判明したので個人ブログに書きました
> 元記事
FlutterアプリでFirebase Authenticationを使ったGoogleアカウントログインを実装してみたので、2つのAdvent Calendarに殴り込みをかけてみました(^ω^ ≡ ^ω^)
筆者はFlutterもFirebaseも初心者なので、お手柔らかにお願いします(予防線)
Flutterプロジェクトの土台を作成する
以下、Flutterアプリの開発環境が整っている前提で話します。
[✓] Flutter (Channel stable, v1.9.1+hotfix.6, on Mac OS X 10.14.6 18G87, locale ja-JP)
[✓] Android toolchain - develop for Android devices (Android SDK version 29.0.1)
[✓] Xcode - develop for iOS and macOS (Xcode 11.2.1)
[✓] Android Studio (version 3.4)
[✓] VS Code (version 1.40.2)
[✓] Connected device (1 available)
FlutterでHello worldを動かすまでの手順については、別途記事を書いております。Flutter未経験の方は合わせてご参考ください。
FlutterでHello worldを動かすまでの環境構築手順(iOS, Android)
とりあえず新規プロジェクトで土台を作成。
Flutterプロジェクト名は、flutter_firebase_authenticationとしました。
中身の実装については後述しますので、一旦寝かせといてください( ˘ω˘)スヤァ…
Firebaseプロジェクトを作成する
まずはFirebaseプロジェクトを作成します。Firebaseの公式ガイドに沿って進めていきましょう。
Flutter アプリに Firebase を追加する | Firebase
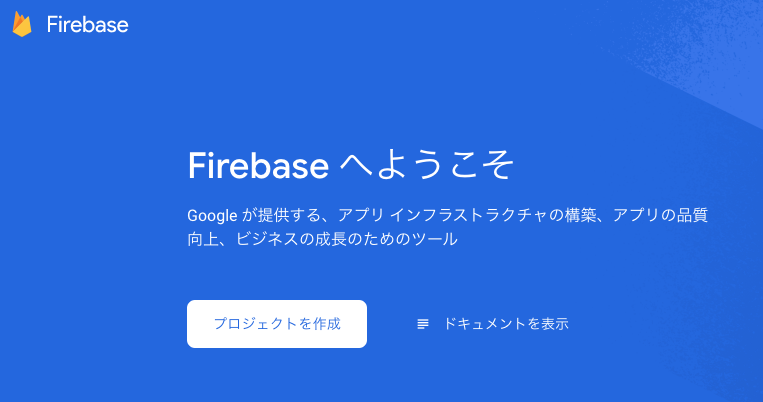
Firebase コンソールで [プロジェクトを作成] をクリック。
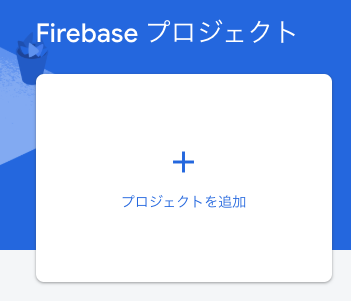
すでにFirebaseプロジェクトが存在する場合は [プロジェクトを追加] をクリックしてください。
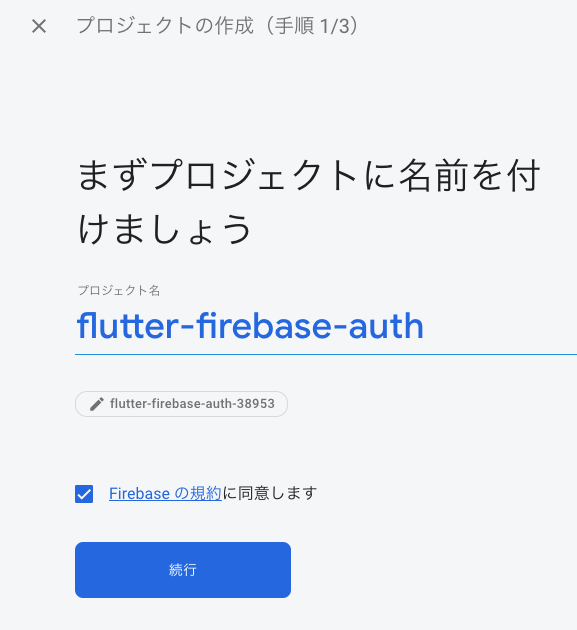
既存のGCP(Google Cloud Platform)プロジェクトがある場合は、プルダウンからプロジェクトを選択できます。今回は新しいプロジェクト名を入力します。プロジェクト名は30文字以内となっていたので、flutter-firebase-authとしました。
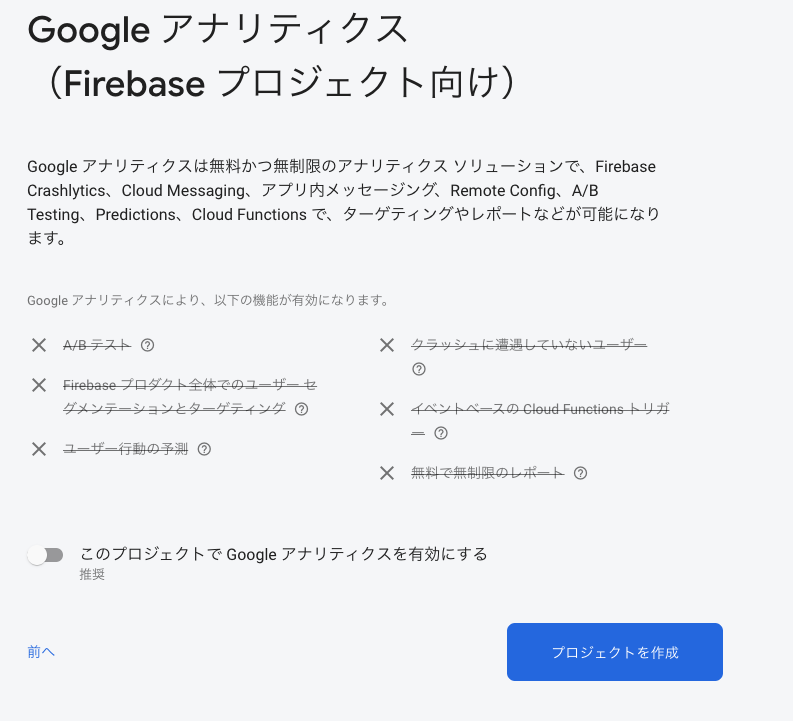
アプリにGoogle Analyticsを連携させることもできますが、今回は有効化せず [プロジェクトを作成] をクリック。
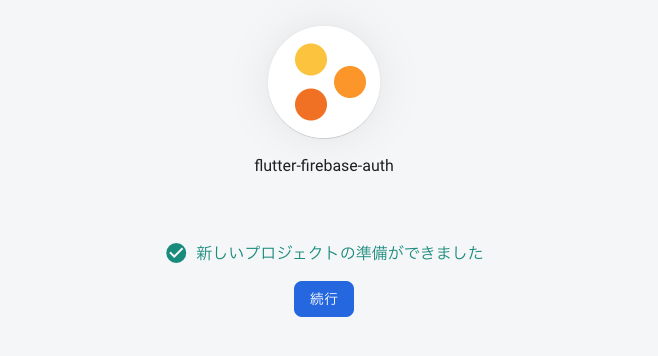
しばらく待つと、Firebaseプロジェクトが作成されます。
[続行] をクリックして終わります。
iOSアプリを構成する
続いてFlutterアプリがFirebaseプロジェクトに接続できるよう構成を行います。
今回は時間の都合上、iOSアプリの設定のみに留めます。Androidは自力で頑張ってください。
Firebaseコンソールにて、先ほど作成したFirebaseプロジェクトを開き、iOSアイコンをクリック。
ウィザードに従って設定を行なっていきます。
アプリをFirebaseプロジェクトに登録する
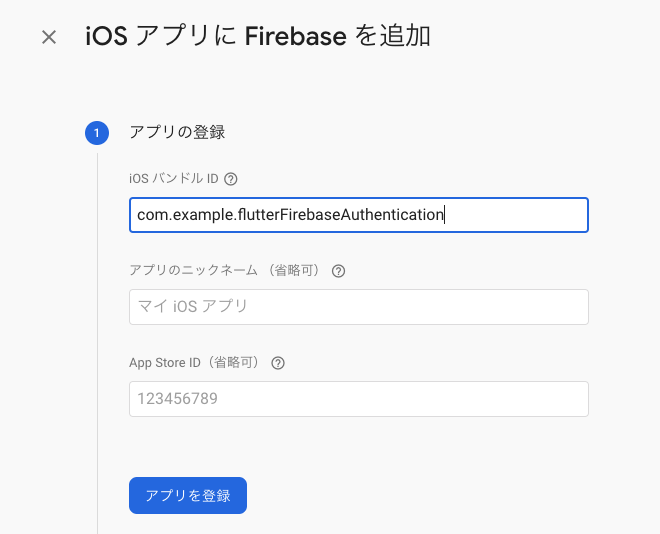
アプリのバンドルIDを [iOS バンドル ID] に入力します。他項目は省略可ということで飛ばします。
バンドルIDはXcodeでアプリを開き、最上位のRunnerを選択するなどすれば確認できます。
com.example.flutterFirebaseAuthenticationみたいな名前のやつです。
バンドルIDを入力したら [アプリを登録] をクリックします。
GoogleService-Info.plistをアプリに追加
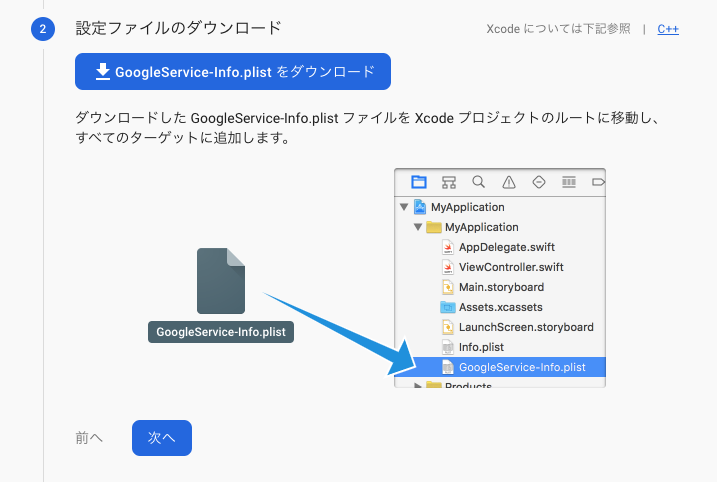
[GoogleService-Info.plist をダウンロード] をクリックして、Firebase iOS 構成ファイルを取得。ダウンロードしたGoogleService-Info.plistファイルを、Flutterアプリの Runner/Runner ディレクトリにコピーします。
Firebaseコンソールのウィザードに戻り、[次へ] をクリックして残りの手順(pod initなど)をすべてスキップして完了します。
Firebase Authenticationの設定
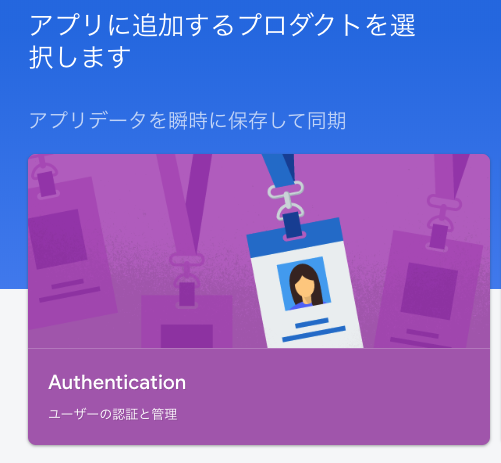
最後にFirebase Authenticationの設定を行います。アプリに追加するプロダクトから [Authentication] を選択。
ログイン方法で [Google] を選択し、サポートメールを入力。[有効にする] のトグルをオンの状態にして保存します。
これでFirebaseコンソール側の作業は完了です。
Flutterにプラグインを追加する
ここでようやくFutterプロジェクトに戻ります。pubspec.yamlファイルを開き、プラグインを追加しましょう。
今回はFirebase Authenticationを使ってGoogleアカウントのログインを実装するので、Firebase Core SDK用のFlutterFireプラグインを含め、3つのパッケージをインストールします。
dependencies:
  flutter:
    sdk: flutter
  firebase_core: ^0.4.2+1
  firebase_auth: ^0.15.1
google_sign_in: ^4.0.14pubspec.yamlに追記してflutter pub getでインストール。
Info.plistにCFBundleURLTypes追加
iOSのgoogle_sign_inで必要な設定を追加します。
/ios/Runner/Info.plistにCFBundleURLTypesを追加します。
<! – Put me in the [my_project]/ios/Runner/Info.plist file – >
<! – Google Sign-in Section – >
<key>CFBundleURLTypes</key>
<array>
    <dict>
        <key>CFBundleTypeRole</key>
        <string>Editor</string>
        <key>CFBundleURLSchemes</key>
        <array>
            <! – TODO Replace this value: – >
            <! – Copied from GoogleService-Info.plist key REVERSED_CLIENT_ID – >
            <string>com.googleusercontent.apps.861823949799-vc35cprkp249096uujjn0vvnmcvjppkn</string>
        </array>
    </dict>
</array>
<! – End of the Google Sign-in Section – >CFBundleURLSchemesには、GoogleService-Info.plist内にあるREVERSED_CLIENT_IDキーの値をコピーして貼り付けます。
ログイン画面を作る
適当にログイン画面を作ります。詳細説明は省きますが、簡単な2つの画面を用意しました。
- ログイン画面
- プロフィール表示画面(ログイン後に遷移)
以下、画面の主要コード部分のみ抜粋。
エラー処理も雑なので、きちんと作るときは各自で何とかしてくれ(丸投げ)
importとか
main.dart
import 'package:flutter/material.dart';
import 'package:firebase_auth/firebase_auth.dart';
import 'package:google_sign_in/google_sign_in.dart';
ログイン画面
main.dart
class MyHomePage extends StatefulWidget {
  MyHomePage({Key key, this.title}) : super(key: key);

  final String title;

  @override
  _MyHomePageState createState() => _MyHomePageState();
}

class _MyHomePageState extends State<MyHomePage> {
  final GoogleSignIn _googleSignIn = GoogleSignIn();
  final FirebaseAuth _auth = FirebaseAuth.instance;

  Future<FirebaseUser> _handleSignIn() async {
    GoogleSignInAccount googleCurrentUser = _googleSignIn.currentUser;
    try {
      if (googleCurrentUser == null) googleCurrentUser = await _googleSignIn.signInSilently();
      if (googleCurrentUser == null) googleCurrentUser = await _googleSignIn.signIn();
      if (googleCurrentUser == null) return null;

      GoogleSignInAuthentication googleAuth = await googleCurrentUser.authentication;
      final AuthCredential credential = GoogleAuthProvider.getCredential(
        accessToken: googleAuth.accessToken,
        idToken: googleAuth.idToken,
      );
      final FirebaseUser user = (await _auth.signInWithCredential(credential)).user;
      print("signed in " + user.displayName);

      return user;
    } catch (e) {
      print(e);
      return null;
    }
  }

  void transitionNextPage(FirebaseUser user) {
    if (user == null) return;

    Navigator.push(context, MaterialPageRoute(builder: (context) =>
      NextPage(userData: user)
    ));
  }

  @override
  Widget build(BuildContext context) {
    return Scaffold(
      appBar: AppBar(
        title: Text(widget.title),
      ),
      body: Center(
          child: Column(
            mainAxisAlignment: MainAxisAlignment.center,
            children: <Widget>[
              RaisedButton(
                child: Text('Sign in Google'),
                onPressed: () {
                  _handleSignIn()
                    .then((FirebaseUser user) =>
                      transitionNextPage(user)
                  )
                  .catchError((e) => print(e));
                },
              ),
            ]
          ),
      ),
    );
  }
}
プロフィール表示画面
main.dart
class NextPage extends StatefulWidget {
  FirebaseUser userData;

  NextPage({Key key, this.userData}) : super(key: key);

  @override
  _NextPageState createState() => _NextPageState(userData);
}

class _NextPageState extends State<NextPage> {
  FirebaseUser userData;
  String name = "";
  String email;
  String photoUrl;
  final GoogleSignIn _googleSignIn = GoogleSignIn();

  _NextPageState(FirebaseUser userData) {
    this.userData = userData;
    this.name = userData.displayName;
    this.email = userData.email;
    this.photoUrl = userData.photoUrl;
  }

  Future<void> _handleSignOut() async {
    await FirebaseAuth.instance.signOut();
    try {
      await _googleSignIn.signOut();
    } catch (e) {
      print(e);
    }
    Navigator.pop(context);
  }

  @override
  Widget build(BuildContext context) {

    return Scaffold(
      appBar: AppBar(
        title: Text("ユーザー情報表示"),
      ),
      body: Center(
          child: Column(
            mainAxisAlignment: MainAxisAlignment.center,
            children: <Widget>[
              Image.network(this.photoUrl),
              Text(this.name,
                style: TextStyle(fontSize: 24,),
              ),
              Text(this.email,
                style: TextStyle(fontSize: 24,),
               ),
              RaisedButton(
                child: Text('Sign Out Google'),
                onPressed: () {
                   _handleSignOut().catchError((e) => print(e));
                },
              ),
            ]),
        ),
      );
  }
実際に動かしてみた
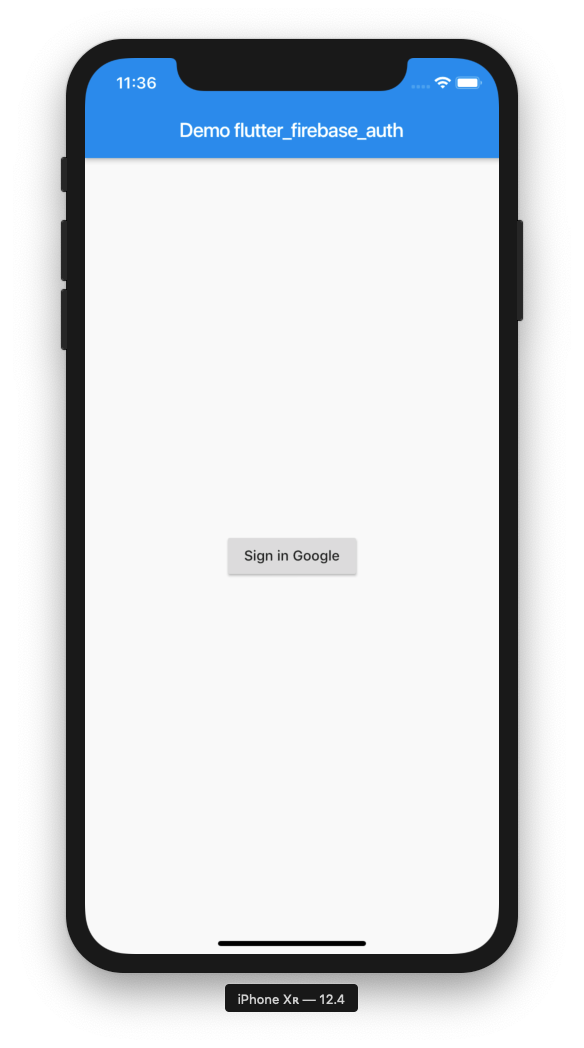
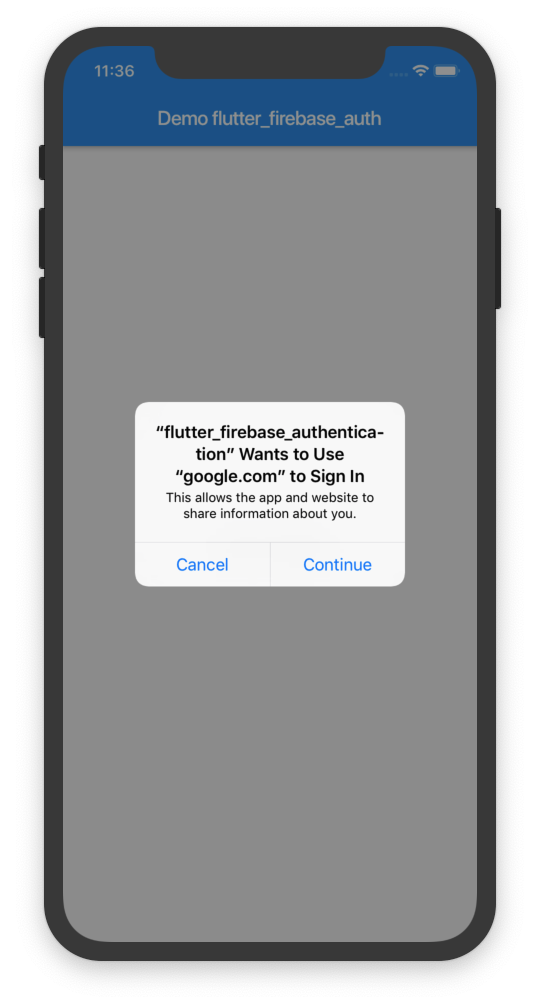
[Signe in Google] ボタンを押すと「Googleアカウントでログインするけどええか?」ダイアログが表示されるのでContinueする。
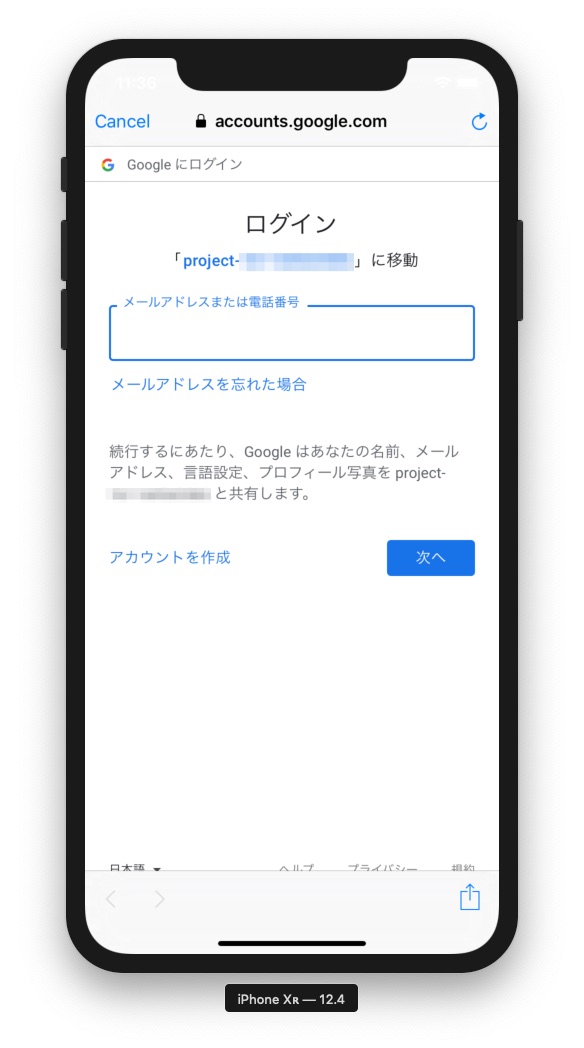
Googleアカウントのログイン画面が出てくるので、アカウント名とパスワードを入力。
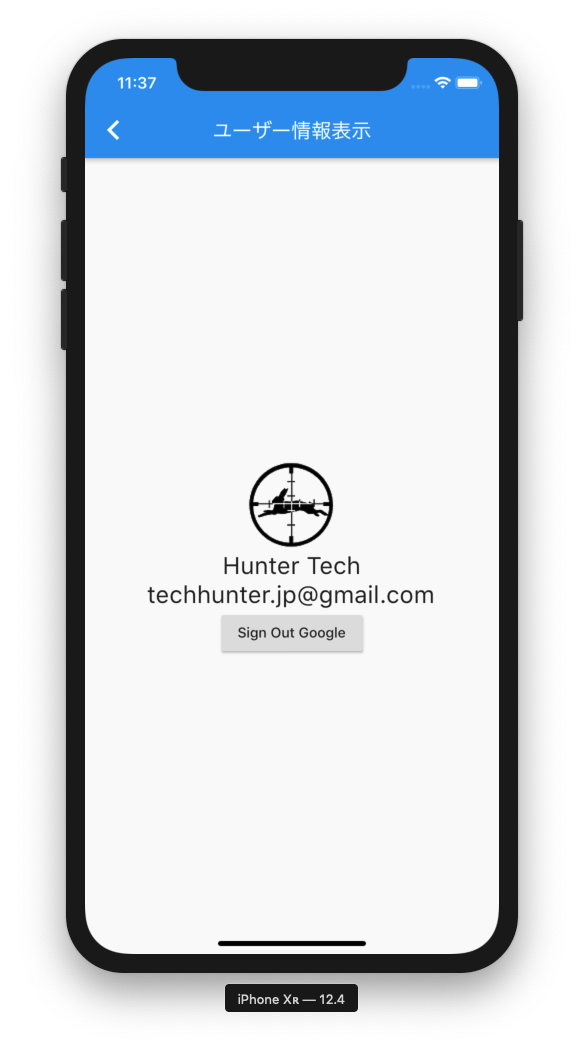
やったぜ。
まとめ
というわけで、FlutterアプリのFirebase AuthenticationによるGoogleアカウントログインは、手順さえおさえれば簡単に実装できることがわかった。
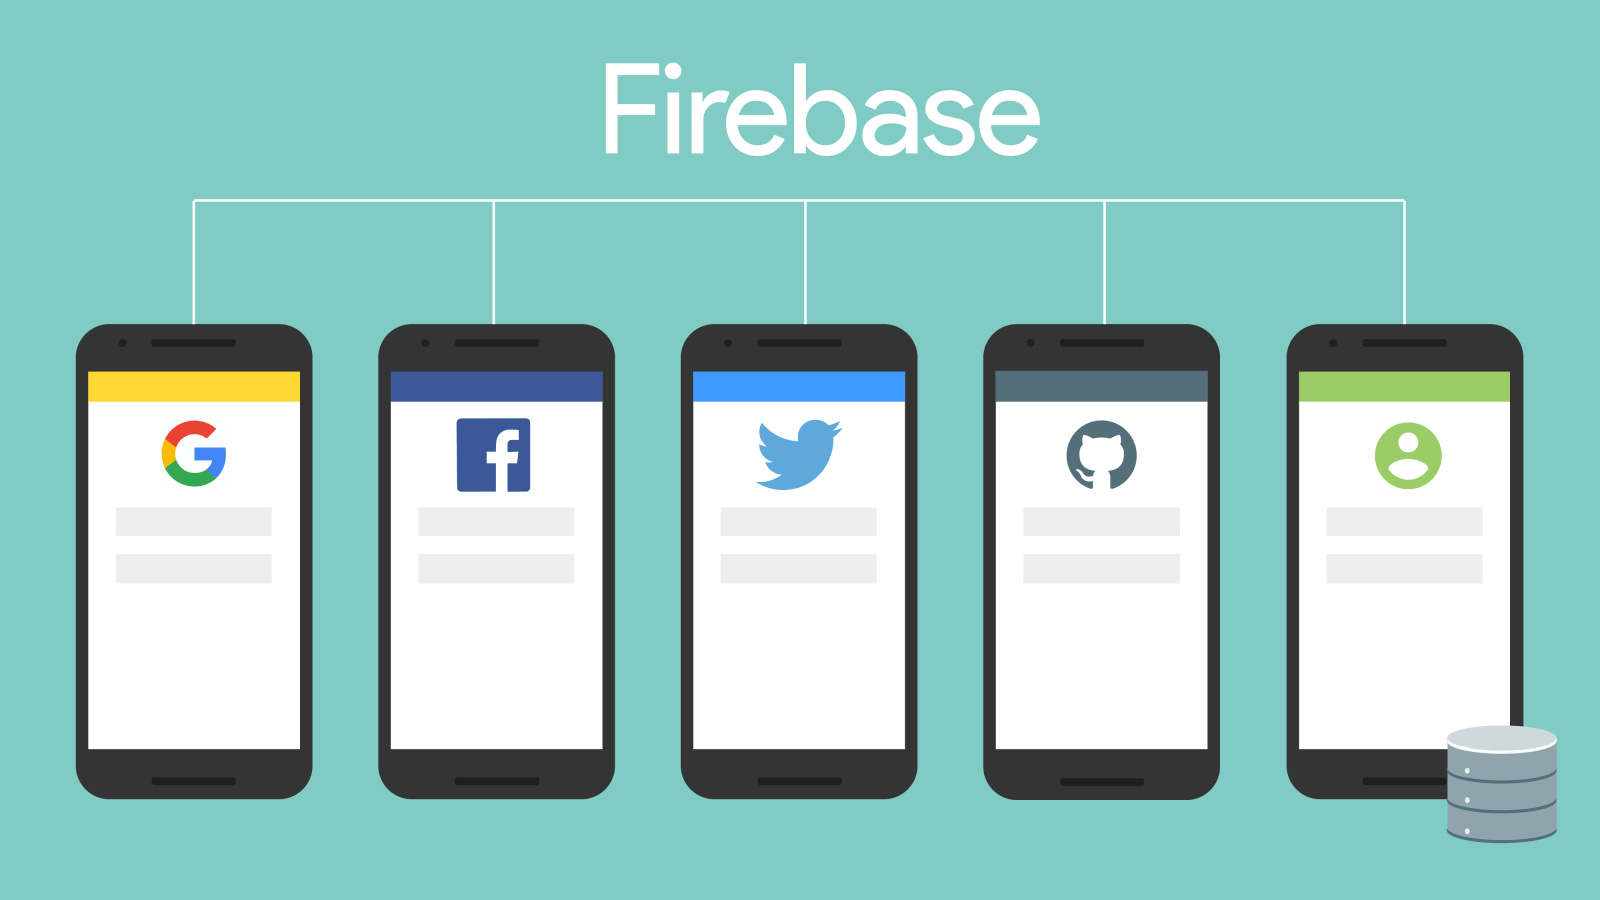
本当はGitHubログインとTwitterログインの実装も盛り込みたかったのだが…アプリ登録まわりのフローがダル過ぎて挫折しました/(^o^)\
メールアドレスや電話番号によるSMS認証の実装は超簡単っぽい。
Sign in with AppleのFlutter対応も秒読みの気配。
[firebase_auth] Added Oauth for generic provider and solve auth for iOS devices by zariweyo · Pull Request #1526 · FirebaseExtended/flutterfire
FlutterとFirebaseはいいぞ
Flutterは手頃なアプリがサクッと作れるので超楽しいですね(^ω^)
他のアカウントログインも余裕ある時にまた挑戦したいと思います。
みんなもFlutterとFirebaseで最高のアプリを作ってくれよな!
Flutter – Beautiful native apps in record time
Firebase
現場からは以上です。





コメント